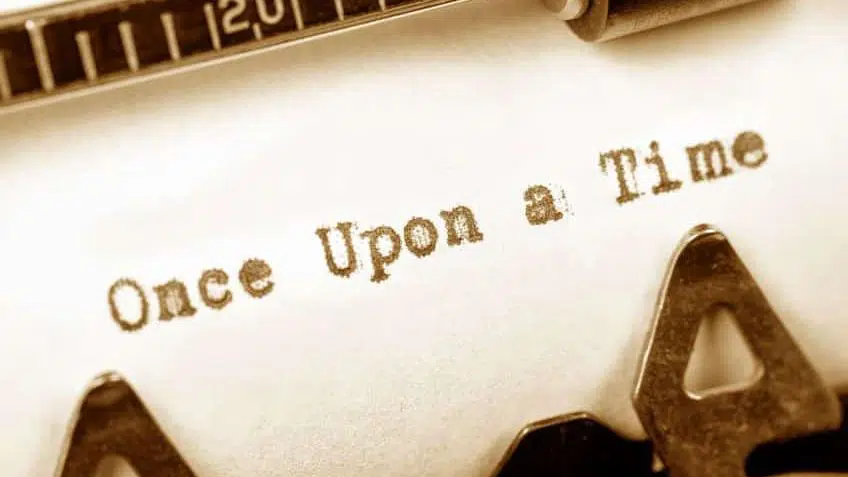
‘If a story is in you, it must come out’
This post tells you how to write a story using the NutSpace tool and addresses the following questions:
Q 1. What is a story?
Q 2. Who is a storyteller?
I will answer the second question first. We are all storytellers. We are always telling stories. If not telling, we are creating them inside ourselves from our observations, our experiences, our bitter sweet memories.
Now to answer the first question – A story is like a cloud, it travels far and wide with the wind steering it. At times it is small and at other times ginormous, at times is it shapeless and at other times more structured, at times it is abrupt and at other times gives closure.
Just like a cloud floats around in the sky till it becomes one with another cloud, a story too floats around and awaits its union with the storyteller who then takes the responsibility to pass it on.
In the circle of life what eventually remains of us are stories. As humans it is our responsibility to create stories, nurture them and then let them go – share them. By sharing stories we do something amazing – we pass on a piece of ourselves to others. A piece that will live on even after we die.
We humans are buzzing with experiences and ideas and most of the time we find it hard to put down those gazillion ideas into a story format. For any story there has to be a beginning, a middle and an end (not necessarily in that order, though), what is important, however, for a story is that it should resonate with the one receiving it.
Here is a simple tool to help you crate a basic framework for your story. This would essentially give you a skeleton and then you can work you magic on it by adding flesh and finally a soul.
Ladies and gents we now present before you the NUTSPACE tool an acronym that will help you create your masterpieces.
What is the NutSpace Tool?
8. N: Name of your story
6. U: Unexpected occurrence / Twist / Problem
5. T: Time (could be time in the day and past/present/future)
4. S: Setting (Location/Place)
3. P: People in your story (Protagonists, Characters)
2. A: Action
1. C: Classification / genre
7. E: Ending of your story / conclusion (Tie all loose ends together)
How to Write a Story using the NutSpace Tool?
See the numbers against the letters on the acronym – That’s the order in which you will work:
Step 1: Classification / Genre: Decide the mood of your story. Keep it basic.
Some examples:
A love story (With a happy ending / a sad ending / abrupt ending)
An adventure story
A humourous story
A ghost story
A food story
Anything you like
Step 2: Action: What is happening in your story? It could be even 1 action.
Some examples:
Running
Fighting
Dancing
Eating
Sleeping
Anything that comes to your mind
Step 3: People: Who are the characters in your story?
Some examples:
You yourself could be a character
A celebrity
An astronaut
A monkey
A chair
A character could be living or non-living
(While you are at it, decide your protagonist (main character) and supporting characters too.)
Step 4: Setting: The location of your story
Some examples:
Forest
Mall
School
A haunted house
(use your imagination)
Step 5: Time: The time frame of your story. It could be set in the past, present or future.
You may even add the time of the day if that is important to your story.
Some examples:
10 years ago
15 years in future
This morning
or 10 years ago the clock struck 12.56 am
Step 1 – 5 will define the beginning and middle of your story. However after establishing the basic premise of your story, a story needs conflict. This is where Step 6, an important step, comes in.
Step 6: Unexpected occurrence / Twist / Problem (your story could even start from here)
It needn’t necessarily be a negative occurrence. It should just be unexpected.
Some examples:
The roof broke open and rats fell out
He put his hand in his pocket and felt something
His wife died
His distant uncle left him a fortune
The journey from Step 6 to step 7 is the resolution to the conflict. This is where you build the climax of your story. This is where the receiver can absolutely not tune out / get bored. The more riveting the better.
Step 7: Ending
You tie all loose ends of your story here and conclude it. This is also linked to the mood of your story decided in step 1.
How to go about it from here?
- Write down the NUTSPACE tool.
- Follow Step 1 to Step 7
Once you have the 7 steps defined begin adding flesh to the bones of your story. There are no rules that your story should begin from a certain point or end at a certain point. Your story is yours to tell so begin your story from the end or unexpected event or even right from the start. That’s your choice completely.
Add in emotions and humour to make it engaging for the receivers of your story.
Don’t forget to add a soul to your story. That’s what defines it really.
Step 8: Name of your story
Finally, carefully choose a name for your story.